JDK installation on Windows 10
23 May 2019
So in this tutorial we will see how to install JDK on a Windows machine.
JDK(JAVA DEVELOPMENT KIT) is used by the programmers for making Java Based applications where as JRE(JAVA RUNTIME ENVIRONMENT) is used for running Java applications.
Before installation you should know JDK latest version supports only 64 bit system till today. So you should check
STEPS FOR INSTALLATION
Step 1
Open the link given below, it will start download of ORACLE JDK
Java SE Development Kit 12.0.1
Step 2
Now after downloading you can install the binary(.exe file) by executing it.
Step 3
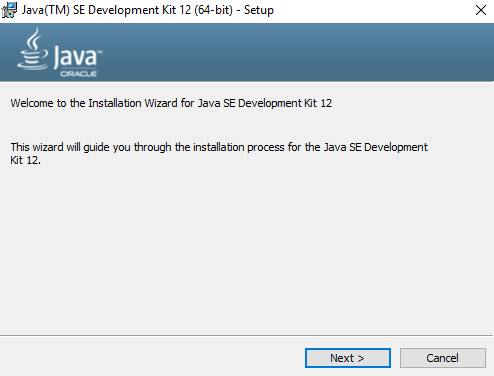
You will see something like this on executing it:

The default settings are reasonable for most users, and you can complete the installation by repeatedly clicking “Next”.
Step 4
Now check the version of you JDK by running the following command:
java -version
If you see something like below you are fine with the installation.
However, if you see something like:
'java' is not recognized as an internal or external command,
operable program or batch file.
Then the installation has failed.
You may wish to try again with the x86 (32-bit) version.
If you have any problem in installing you can contact by filling the form on the link below.
CLICK HERE TO GO TO CONTACT FORM LINK


